TABLE OF CONTENTS
- Login and Find Your Course
- Navigate a Blackboard Course
- Overview of Course Content, Activities, and Assessments
- Participate in Activities and Submit Work
- Use the myLesley Text/Content Editor
- Share Media in Your Course
- Communicate with your Instructor and Classmates
- Track Your Progress
- Join Online Meetings
- View Grades and Feedback
- Accessibility in Blackboard (myLesley)
- Training and Support
Login and Find Your Course
Before you log in, review the System Requirements to make sure that your system meets the hardware and software requirements.
To access myLesley, go to http://my.lesley.edu and click on the myLesley Login button.

You will be redirected to a Sign In page where you will enter your Lesley credentials in the form of username@lesley.edu. You will then be prompted to enter your password to authenticate.

Please note that Safari DOES NOT work with the SSO application. Please use Chrome or Firefox as they are the most compatible. For more information, refer to the Single Sign-On (SSO) at Lesley University support article.After logging in, you will find yourself on the myLesley home page. You can navigate to other sections of myLesley by clicking on the links in the left-hand navigation menu. Refer to the myLesley Overview support article for more information on the myLesley Base Navigation.

Click on Courses to navigate to your Courses page. Here you will be able to see all courses in which you are enrolled, view high-level course information, and access your courses. The courses appear on the Course Timeline in alphabetical order by course name and includes past, present, and upcoming courses.
Use the Favorite button (the star icon) to mark your current courses as favorites and move them to the top of the page. You may also use the Search feature to search for a specific course by name, course ID, or instructor.

Click on a course to enter it.
Navigate a Blackboard Course
When you first enter an Ultra course, you will be brought to your Course Content page, This is the default course page and contains the majority of your course materials.
There are three main areas on this page: Course Content, Course Faculty, and Details & Actions.
- Course Content: This is where you can access your course content, assignments, resources, and more.
- Course Faculty: This area provides information about your instructor(s).
- Details & Actions: This area provides you with access to the course roster, Attendance (if used), and Books & Tools to access additional tools and resources.

Use the Navigational Tools at the top of the page to move between the Content, Calendar, Announcements, Discussions, Gradebook, Messages, and Groups areas of the course.

You may return to the main navigation or jump to a different course by using the Home and Course Switcher options.
- Click the Home button (house icon) to exit your course and return to the myLesley Home page.
- Click the Courses button to open the Course Switcher. From here, you can quickly jump to your four most recent courses or choose View All to access the full Courses page

Overview of Course Content, Activities, and Assessments
The design and appearance of your courses may differ based on the program, delivery method, and the individual instructor. Typically, instructors organize their courses in a way that best suits the material being taught. The most common methods for course organization include chronological arrangements (such as by week) and topical arrangements based on subject matter. It's important to anticipate variations in course structure, as each instructor has their own unique teaching style.
The content in a course can be static or require your interaction. Here is a brief overview to get you started.
Course Content Items and Instructional Materials
These items provide content to you but don't require you to submit anything. These may be instructional materials, documents, links, videos, and more.
- Folders and Learning Modules: Folders and Learning Modules are used to organize content. Open a folder or Learning Module to access the content within it.
- Ultra Documents: Ultra Documents are pages on the site and may contain variety of content, including text, video, links, images, and files.
- Links: When you click on a link a new website opens in a new browser tab/window.
- Files: Files may include documents, presentations, PDFs, and more. Depending on the options your instructor chose, you can expand the file to view it directly within the window and/or download the file to view on your device.
- Additional Content: Your instructor may use integrations such as textbook content, Zoom meetings, or another tool provider.
Course Activities and Assessments
These items will require you to interact with the system to engage with others or assess your knowledge.
- Discussions: Online discussions allow you to respond to a prompt and comment on your classmates' posts.
- Assignments: The assignment feature allows you to submit your work online for papers, reports, research, projects, etc.
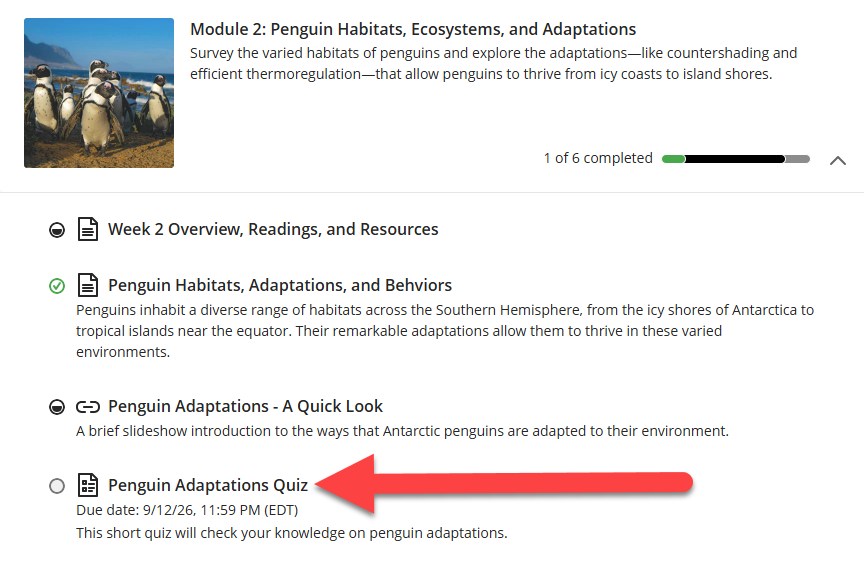
- Tests: This is an online quiz that may be graded.
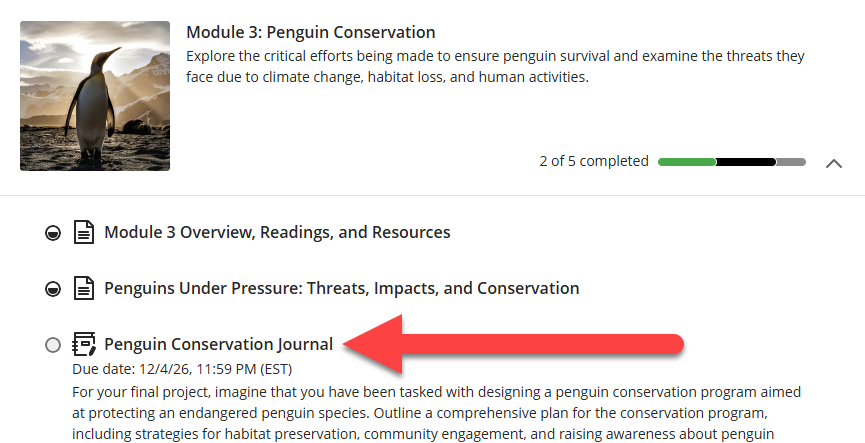
- Journals: This self-reflective tool allows you to engage with the instructor in one-on-one conversations.
Participate in Activities and Submit Work
Participate in a Discussion
An online discussion is similar to a classroom conversation that takes place over time. Your instructor will post a question or topic and you will respond with your own thoughts and ideas. Then, you will read your classmates' responses and reply to continue the conversation.
To participate in a discussion, click on the Discussion link from the Course Content page or click on the Discussions link in your course navigation bar.

Once you enter your discussion:
- Check the due date and grading details: If your Discussion is graded, you will find the due date, points, and grading rubric (if used) in the Details & Information section.
- Read the prompt carefully: Pay close attention to the discussion prompt and take the time to write a meaningful response.
- Post your response: Enter your response to the prompt and use the text/content editor to add and format text, upload images, add links and attachments, embed media, and more.
- Reply to your classmates: Write a meaningful response to your classmates' posts.

For more information and detailed instructions, refer to the Participate in myLesley Discussions (Students) support article or watch the Participate in Discussions tutorial video.
Submit an Assignment
Whether you are taking a course face-to-face or online, you may be asked to submit an assignment using the myLesley Assignment tool. Rather than ask you to print a copy of your paper or email it, your instructor can collect your papers online, grade them, and return them to you with feedback. Assignments submitted in this manner are always private between you and your instructor.
To submit an assignment, click on the assignment link in your Course Content or from the Gradebook.

Once you enter your Assignment:
- Read the instructions: Pay close attention to the assignment instructions. The requirements may vary from course to course, and assignment to assignment. If you have questions, reach out to your instructor as soon as possible.
- Check the due date and grading details: You will find the assignment due date, points, and grading rubric (if used) in the Details & Information section.
- Check for multiple attempts: If you can submit an assignment more than once, take advantage of your instructor's revise-and-review process.
- Submit in the correct file format: In order for your instructor to provide inline feedback on your assignment, submit your file in one of the following formats:
- Document (.doc, .docx)
- Presentation (.ppt, .pptx)
- Spreadsheet (.xls, .xlsx)

For more information and detailed instructions, refer to the Submit Assignments in myLesley (Students) support article or watch the Submit an Assignment tutorial video.
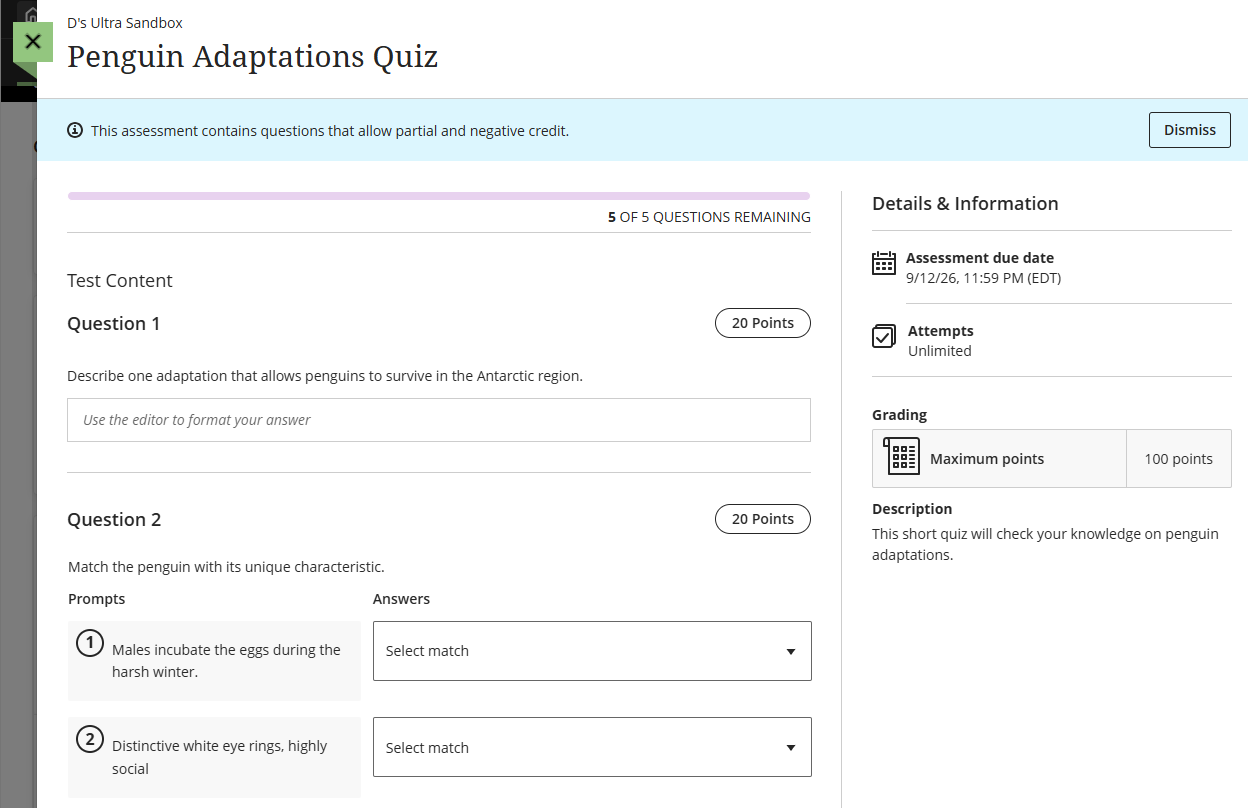
Take a Test
Online tests, like paper-and-pencil tests, contain a variety of question types such as multiple choice, short answer, or matching. Taking online tests allows your instructor to use features such as automated grading, allowing multiple attempts, time limits, multimedia in questions, and time ranges.
While you may be able to use the Blackboard App to take tests, we strongly discourage it. As a best practice, we recommend using a computer and a reliable network connection.
Prepare for a Test
Prepare for your test by doing the following:
- Notify your Instructor of your accommodations. If you need accommodations, including extended time, reach out to your instructor in advance.
- Plan ahead. Plan to take your test in one sitting. Before you begin, review the Details & Information to identify the due date, number of attempts, whether the test is timed, etc.
- Check for multiple attempts. You may be able to take a test multiple times. Look in the Details & Information section for the test to see how many tries you will have for the test. If you have multiple attempts, your instructor will control how the grade is calculated.
- Use a strong reliable internet connection. Make sure you use a strong, reliable internet connection. As a best practice, do not take your test on a mobile device.
- Is your test timed? If your test is timed, do not begin the test until you are ready. The timer will start as soon as you open it.
For more information, watch the Prepare for an Assessment tutorial video.
Take a Test
To access a test, click on the test link in your Course Content or from the Gradebook.
Is your test timed? If your test is timed, do not begin the test until you are ready. The timer will start as soon as you open it.
Once you enter your Test:
- Read the instructions. Pay close attention to the test instructions. The requirements may vary from course to course, and test to test. If you have questions, reach out to your instructor as soon as possible.
- Read and review. Read each question carefully and double-check your answers.
- Track your progress. Use the test progress bar to track test completion.
- Check multiple answer questions. For multiple choice questions with multiple answers, your instructor controls whether you are penalized for incorrect choices. Make sure you read these questions carefully and only select the answers you believe to be correct.
Once you begin your test do not refresh the page, close the browser window/tab, or click the back button! Doing so may cause an error in the system.
Once you have finished your test, double check your answers and then click Submit.
For more information and detailed instructions, refer to the Take Tests in myLesley (Students) support article or watch the Test Taking and Submission tutorial video.
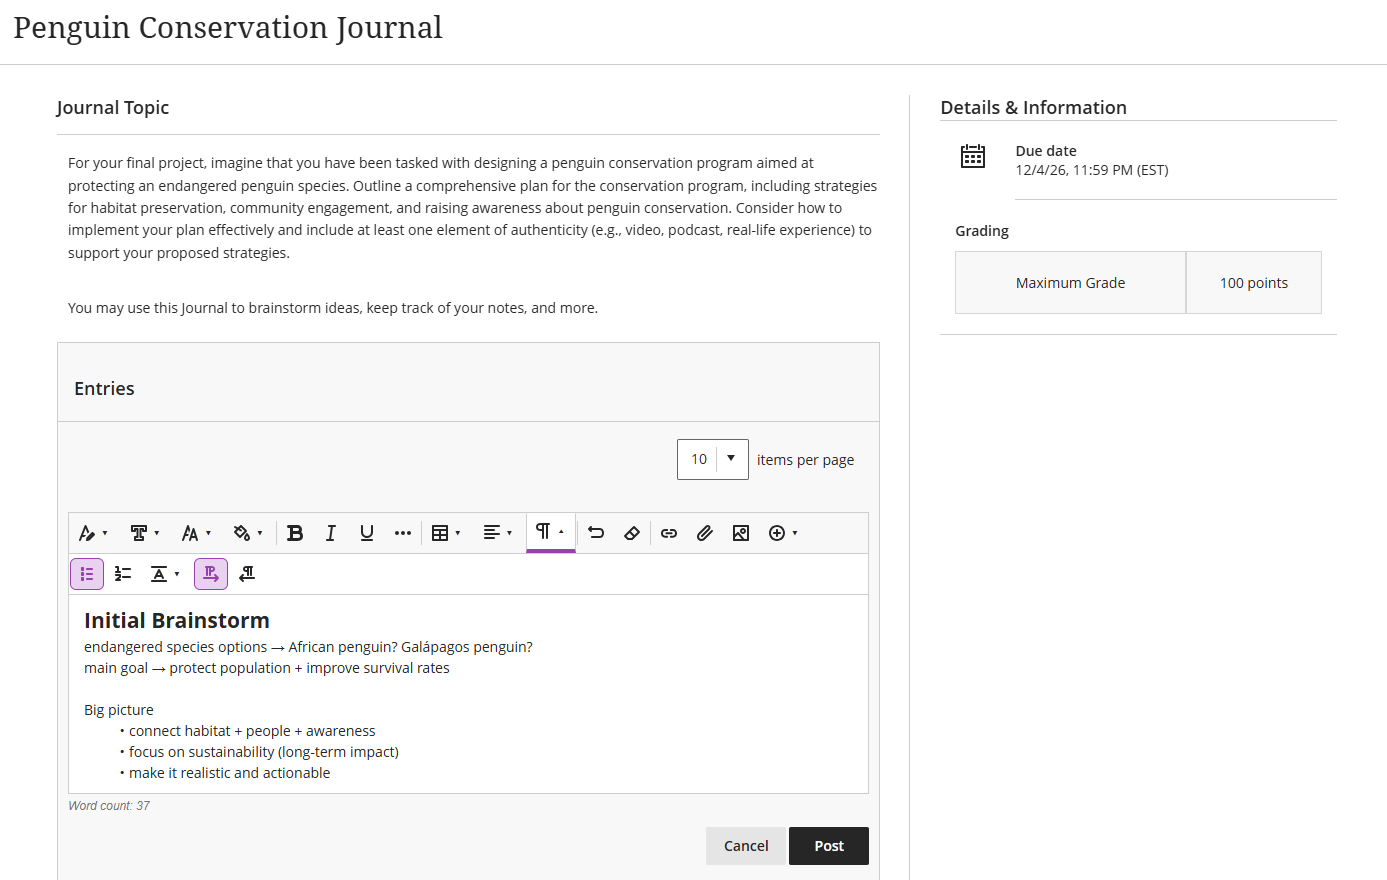
Create a Journal Entry
Journals provide a private space for you to communicate with your instructor. Unlike discussions, journals are not shared with classmates. They are meant for personal reflection and one-on-one interaction. You may use the journal to reflect on your learning, share your thoughts or concerns, discuss and analyze course materials, or respond to prompts provided by your instructor. Your instructor may guide your entries with specific topics and may choose to grade your journal submissions or use them simply as a tool for feedback and reflection.
To post a journal entry, click on the journal link in your Course Content.
Once you enter your Journal:
- Check the due date and grading details: If your journal is graded, you will find the due date, points, and grading rubric (if used) in the Details & Information section.
- Read the prompt carefully: Pay close attention to the journal prompt and take the time to write a meaningful entry. If you have questions, reach out to your instructor as soon as possible.
- Post your entry: Write your response to the prompt and use the text/content editor to add and format text, upload images, add links and attachments, embed media, and more.
For more information and detailed instructions, refer to the Create Journal Entries in myLesley (Students) support article or watch the Journals tutorial video.
Work in Groups
Your instructor may use groups for assignments, discussions, or projects. Your instructor may assign you to a group or allow you to select the group you want to join.
Click on the Groups tab in your course to access your groups. Here you can view your groups, access your group work, and message your group members.
Click on your group's name to enter the group space.

From your group space, you can access all of your group work, including group discussions and assignments, view your group members, and send messages to the group.
For more information and detailed instructions, refer to the Work in myLesley Groups (Students) support article or watch the Work in Groups tutorial video.
Use the myLesley Text/Content Editor
The editor appears in most places where you can add content, including discussions, tests, messages and more. You may add and format text, embed images, attach files, add media via Katutura Media, and insert equations, links, and tables.

For more information and detailed instructions, refer to the Add and Format Content support article or watch the How to use the Content Editor tutorial video.
Share Media in Your Course
The best way to share media (video and audio content) will depend on whether it is media that you own or have created or media that others have created.
Share Media You Created (Using Kaltura Media)
Use Kaltura Media to upload media (video and audio) you have created. You may upload your media into a Discussion, Journal, or Assignment.
Kaltura Media provides a lot of advantages, including:
- Compatibility: Kaltura will accept a large amount of video types and automatically convert it to versions your instructor and classmates can view, regardless of their device.
- Accessibility: Kaltura will automatically caption your content. Accurate captioning of audio and video content ensures that people who are Deaf and hard of hearing can understand your content. Additionally, captions are very useful to non-native English speakers, viewers watching in a sound-sensitive environment such as a library, can help viewers with learning disabilities or neurodivergence maintain concentration, and can help all learners improve comprehension.
- File Size: Your instructor and classmates do not have to download large audio or video files. Instead, the video is hosted on Kaltura's servers and streams through myLesley.
- Privacy and Security: Kaltura videos cannot be downloaded by anyone who is not the owner, nor can they be shared on other websites.
Detailed instructions and additional resources may be found here:
- Add Kaltura Media to your myLesley Course
- Record a Presentation and Share it in myLesley via Kaltura Media
Share Media Created by Others
If you are not the creator of the media or do not have permissions from the publisher, you cannot upload the media into your course. This includes copies of DVDs that you have purchased. If the content exists on the web (ex YouTube, PBS, library media databases), you may either link to it or embed it in your course.
For more information and detailed instructions, refer to the Add Media Created by Others support page.
Communicate with your Instructor and Classmates
Announcements
Your instructor may send Announcements share important, time-sensitive information, such as reminders about due dates, course events, or institutional updates. Course announcements appear in your Activity Stream, when you enter a course, and on your course's Announcements page. Your instructor may also decide to send an email copy of the Announcements.
New announcements display right away when you enter a course and you must close the window before accessing your content. Click on the Announcement to read it. Or click View all announcements to view all course Announcements.

Click the Announcements link in the course menu to see all current and past course announcements. A number indicator will let you know if you have unread announcements. Once you have read an announcement it will be noted with a checkmark.

For more information, refer to the Announcements support page.
Create and Send Messages
You can use Messages to send private and secure messages to others in your course, including your instructor, classmates, or group members. You will receive an email copy of all Messages sent to you and will see new message indicators in the base navigation as well as within your course.
You can access Messages across all of your courses in the Global Messages area. If you have a new message, you will see a number next to the Messages link in the base navigation. Once you access the Messages page, courses with unread messages will appear first in the list.
Click on a message to be brought to that course's Messages page where you may view, reply to, and create messages.

Or, from within a course, click the Messages link in the course menu. A number indicator will let you know that you have new unread messages.

Your messages are organized in threads. When you open a message you will see the full conversation, with all sent and received replies. Click on a message to read and reply

Or click on the New Message button to send a new message to your instructor or classmates.

For more information, refer to the Create and Send Messages in myLesley (Students) support article or watch the Blackboard Messages tutorial video.
Track Your Progress
Progress Tracking allows you to keep track of what you have done in the course. You can track your progress within a Learning Module as well as any content on the Course Content page.
Each piece of content on the Course Content page displays a progress status icon, allowing you to easily track your progress as you move through the course. This includes individual content items, content within Learning Modules or Folders, Assignments, Discussions, etc.
Each item’s progress status displays within a circle that changes appearance based on your progress:
- Empty: You haven't accessed the item yet.
- Partially filled: You've opened the item or accessed the item through Ally
- Green checkmark: You have marked the item as complete or submitted the test or assignment.
You can mark items such as documents, uploaded files, links, or Discussions as complete. Assignments and Tests are automatically marked as complete once they are submitted.

For more information, refer to the Progress Tracking support page.
Join Online Meetings
There are two online meeting tools at Lesley and you may be asked to use one or both of these tools. The Online Meeting Skills and Tutorials page will walk you through the common tasks performed in online meetings and links to support articles for each tool.
Zoom
The Joining a Zoom Meeting video tutorial will walk you through joining a Zoom meeting and configuring your audio settings. If you are uncertain how to access your meeting, please reach out to your instructor.
Additional Zoom resources, video tutorials and training webinars may be found on the Zoom Support Site.
Microsoft Teams
Refer to the following support articles for information and detailed instructions:
View Grades and Feedback
Your instructor will post your grades once grading is complete, or they will release all grades at one time to the entire class. Depending on your Notification Settings, you may receive a notification in your Activity Stream or your email when content has been graded.
Access Your Grades and Feedback
There are many places in the system that allow you to view your grades and instructor feedback. Get a heads-up about new grades in your Activity Stream, view grades for all of your courses in the Global Gradebook, view all grades in a single course in your Course Gradebook, or select a gradable item in your course to view its grade and instructor feedback.
Navigate to your course and click on the Gradebook link in the course menu at the top of the page. Here you will see your Current Grade in the course and the status of your graded items. Click the View button in the Results column to view an item's grade and instructor feedback.

For more information, refer to the View Grades and Feedback in myLesley (Students) support article or watch the Check Grades tutorial video.
View Assignment Grades and Feedback
Your instructor will post your Assignment grade once grading is complete, or they will release all grades at one time to the entire class.
You may access your Assignment grades and feedback from your Activity Stream, your Global Gradebook, your Course Gradebook, or by selecting the Assignment in your Course Content.
Click on your Assignment to open. Then click View Submission to view grading details and feedback.

For more information and detailed instructions, refer to the View Assignment Grades and Feedback support page or watch the Review Assignment Feedback tutorial video.
View Test Grades and Feedback
Depending on the type of test questions and the settings your instructor chose, your test may be scored immediately or you may have to wait until your instructor posts the test scores for the entire class.
You may access your Test grades and feedback from your Activity Stream, your Global Gradebook, your Course Gradebook, or by selecting the Test in your Course Content.
Click on your Test to open. Then click View Submission to view your scores for individual questions and any feedback your instructor provided.

For more information, refer to the View Test Grades and Feedback support page or watch the Test Review and Feedback tutorial video.
View Discussion Grades and Feedback
If your Discussions are graded, your instructor will post your Discussion grade once grading is complete or release the grades all at once.
You may access your Discussion grades and feedback from your Activity Stream, your Global Gradebook, your Course Gradebook, or by selecting the Discussion in your Course Content or by clicking the Discussions link in the course menu.
Click on the Discussion to open it. Your Discussion grade and feedback will be available in the Details & Information section.

For more information, refer to the View Discussion Grades and Feedback support page.
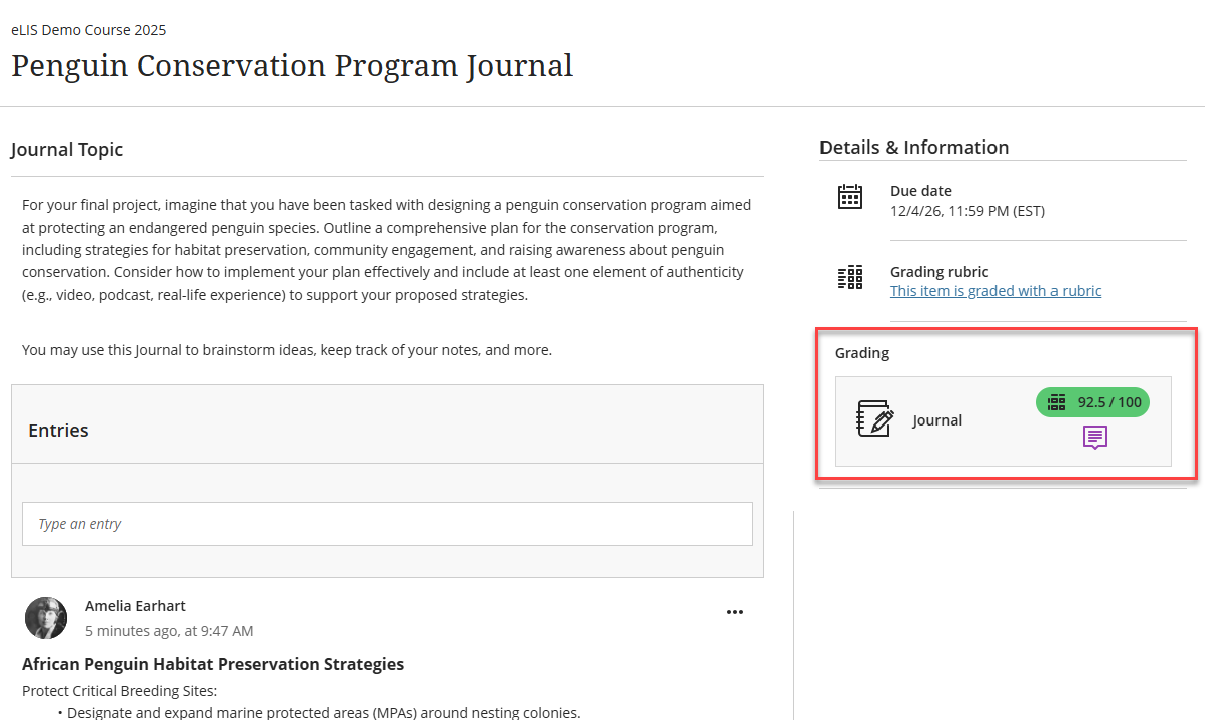
View Journal Grades and Feedback
If your Journal is graded, your instructor will post your grade once grading is complete or release the grades all at once.
You may access your Journal grade and feedback from your Activity Stream, your Global Gradebook, your Course Gradebook, or by selecting the Journal in your Course Content.
Click on the Journal to open it. Your grade and feedback will be available in the Details & Information section.
For more information, refer to the View Journal Grades and Feedback support page.
Accessibility in Blackboard (myLesley)
Blackboard believes that accessibility is essential for creating inclusive, effective educational experiences. Read more about Blackboard's commitment to Accessibility: Empowering learning through inclusive design.
Accessibility Overview
Watch the Accessibility Overview in Blackboard Learn video to find out about accessibility features in Blackboard. The video and full transcript may be found on Vimeo: Accessibility Overview in Blackboard Learn video tutorial.
Additional information and an overview of Blackboard's accessibility features, including how to navigate with keyboard shortcuts, may be found on Blackboard's Accessibility page.
Using Screen Readers in Blackboard
For the best experience with screen readers, Blackboard recommends the following combinations:
| Screen Reader | Operating System | Browser |
|---|---|---|
| JAWS | Windows | Chrome |
| NVDA | Windows | Firefox or Chrome |
| VOICEOVER | MAC OS | Firefox or Chrome |
Screen Reader Resources
- Basic Keyboard Shortcuts JAWS, NVDA and VOICEOVER Guide: This guide features commands for navigating web pages with your preferred screen reader.
- Resources for Navigating Blackboard with JAWS:
- Video Demonstration: Using Blackboard with JAWS
- Using Blackboard with JAWS Tutorial Videos from Freedom Scientific
- Navigate to your Courses with JAWS support article
- Navigate Learning Modules with JAWS support article
- Navigate Ultra Documents with JAWS support article
- Participate in Discussions with JAWS support article
- Submit an Assignment with JAWS support article
- Navigate Gradebook with JAWS support article
Access Alternative Document Formats
Ally is a tool within myLesley designed to improve the usability and accessibility of your course content. Providing accessible content allows you to choose the formats that work best for you, including HTML for improved reading on mobile phones, Electronic Braille for the visually impaired, and Audio and ePUB files for learning on the go. Ally automatically scans your course content and performs a series of steps to make it more accessible. You can download these alternative formats anywhere that files are used.
For more information, refer to the Access Alternative Document Formats in myLesley (Blackboard Ally for Students) support article or watch the Alternative Formats - Ally tutorial video.
Training and Support
myLesley training and support is available to all members of the Lesley community.
Support Hub
Do you have questions or need assistance with myLesley? Check out the myLesley Support Articles on the Support Hub. These resources will guide you through using myLesley for teaching and learning.
Not finding what you need? You may create a support ticket on the Support Hub or reach out to us via email at elis@lesley.edu.
When reaching out for support, please provide your Lesley username, your course (if applicable), and describe the problem to the best of your ability. If possible, include a screenshot. This information will help the support staff resolve your issue as quickly as possible.
Student Orientation
myLesley Student Orientation: This self-paced course has been designed to prepare you to successfully use Blackboard Ultra. You may be new to online learning, new to Blackboard Ultra, or both. In this course, we will cover the basics of Blackboard Ultra so that you know what it is, how to navigate in it, how to use it to complete your course work, and how it will benefit you.
Was this article helpful?
That’s Great!
Thank you for your feedback
Sorry! We couldn't be helpful
Thank you for your feedback
Feedback sent
We appreciate your effort and will try to fix the article